
Planning a home renovation can be exciting, but dealing with the waste it creates can sometimes lead to unexpected problems. Renting a bin, or dumpster, seems like a simple part of the process, yet misunderstandings can pop up. Whether it’s about where the bin goes, what goes in it, or who’s responsible for what, a home renovation bin rental dispute can really throw a wrench in your project. This guide is here to help you understand these issues and steer clear of them.
Key Takeaways
- Always read the rental agreement carefully to know who’s responsible for the bin.
- Clear communication between homeowners, contractors, and rental companies helps prevent disputes.
- Proper placement and safety markers for bins can avoid accidents and confusion.
- Check local bylaws and permits before having a bin delivered to your property.
- Document everything, from instructions to damages, to protect yourself in a home renovation bin rental dispute.
What Is a Home Renovation Bin Rental Dispute?
A home renovation bin rental dispute happens when disagreements pop up between you, the homeowner, and the bin rental company. It’s not just about a simple misunderstanding; these issues can get pretty complicated, especially when they involve things like where the bin is placed, how much waste you’ve actually got, or even what’s allowed in the bin.
Think about it: you’re in the middle of a big project, maybe tearing down a wall or redoing the kitchen. You rent a bin to haul away all that debris. But then, maybe the bin company says you’ve gone over the weight limit, or you disagree on the pickup date. Or perhaps a neighbor complains about the bin’s location, and the rental company sides with them. These kinds of conflicts are what we’re talking about when we mention a home renovation bin rental dispute.
These disputes aren’t just a minor annoyance; they can actually cost you a good chunk of change. We’re talking about extra fees, project delays, and sometimes even legal trouble. It’s a situation that can really put a damper on your renovation plans. Understanding what causes these problems is the first step to avoiding them, whether you’re renovating in the US or dealing with a home renovation bin rental dispute in Canada.
Disagreements over bin rentals can stem from a variety of issues, including unexpected costs, service quality, or contractual misunderstandings. Being prepared for these possibilities can save a lot of hassle down the road.
Here are some common triggers for these kinds of arguments:
- Bin Placement Issues: Where the bin is allowed to sit can be a big deal. Sometimes it’s about property lines, or maybe local rules say it can’t block a sidewalk. The rental company might have specific rules too.
- Weight or Volume Overages: You might think you know how much trash you’ll generate, but renovations can be unpredictable. If the bin is too heavy or too full when they come to pick it up, you could face extra charges.
- Disagreements on Contract Terms: What did the contract actually say about pickup schedules, prohibited items, or extra fees? Sometimes people sign without reading closely, and that’s where problems start.
- Neighbor Complaints: Your neighbors might not be thrilled about a big bin sitting in front of your house for weeks. Their complaints can sometimes escalate into disputes involving you and the rental company.
Dealing with these issues can feel overwhelming, but knowing what to look out for is key. It’s all about clear communication and understanding the terms of your rental agreement before the project even begins. For homeowners dealing with specific regulations, understanding landlord responsibilities for waste management can also be important.
Common Causes of Bin Rental Disputes
So, you’re in the middle of a home renovation, and suddenly, there’s a problem with the dumpster. It happens more often than you’d think, and these waste bin rental problems can really throw a wrench in your project.
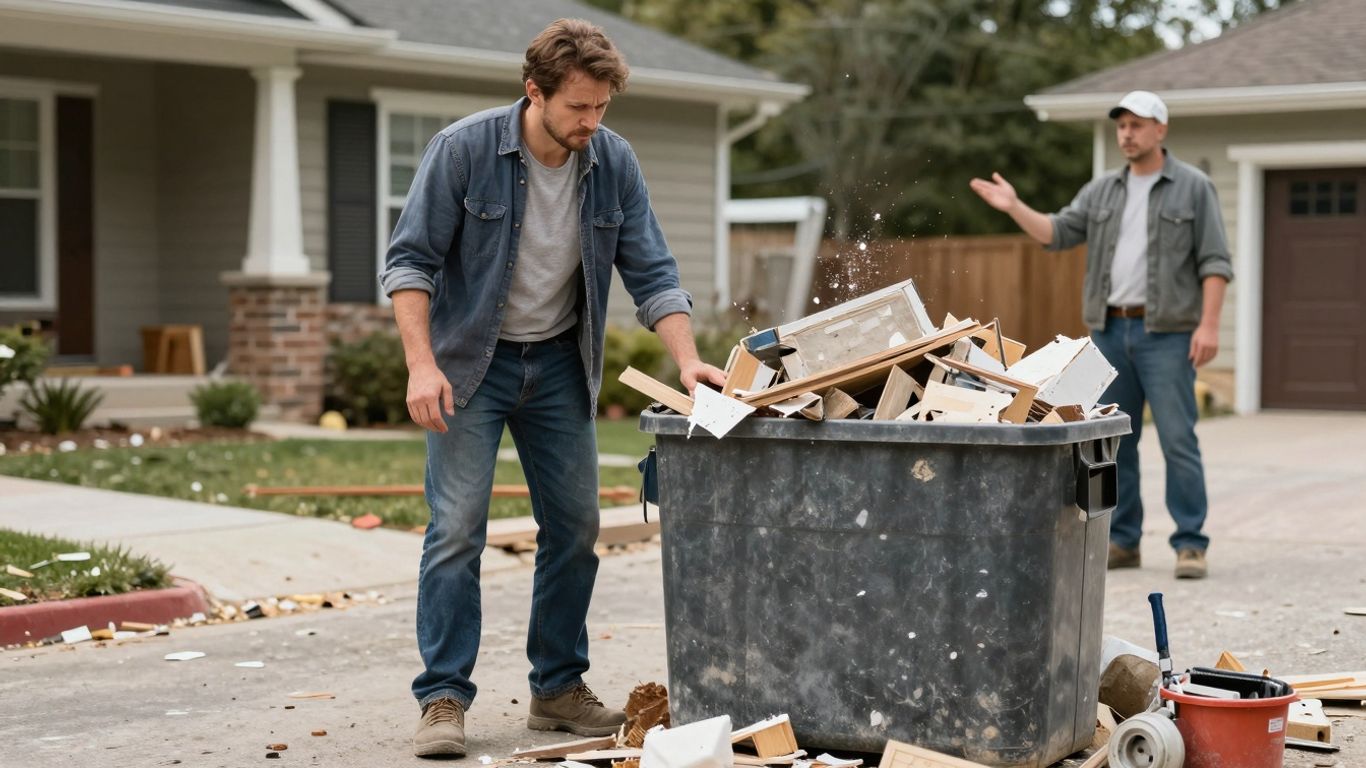
One of the biggest headaches is usually around where the bin ends up being placed. It sounds simple, right? You just put it on your property. But then you run into issues like it being too close to a neighbor’s driveway, blocking a sidewalk, or even being on public property without the right permits. Sometimes, confusion over property lines or local rules about where these big bins can go leads to serious landfill bin rental complaints. It’s not uncommon for homeowners to underestimate how much space the bin actually needs, or where it’s allowed to sit.
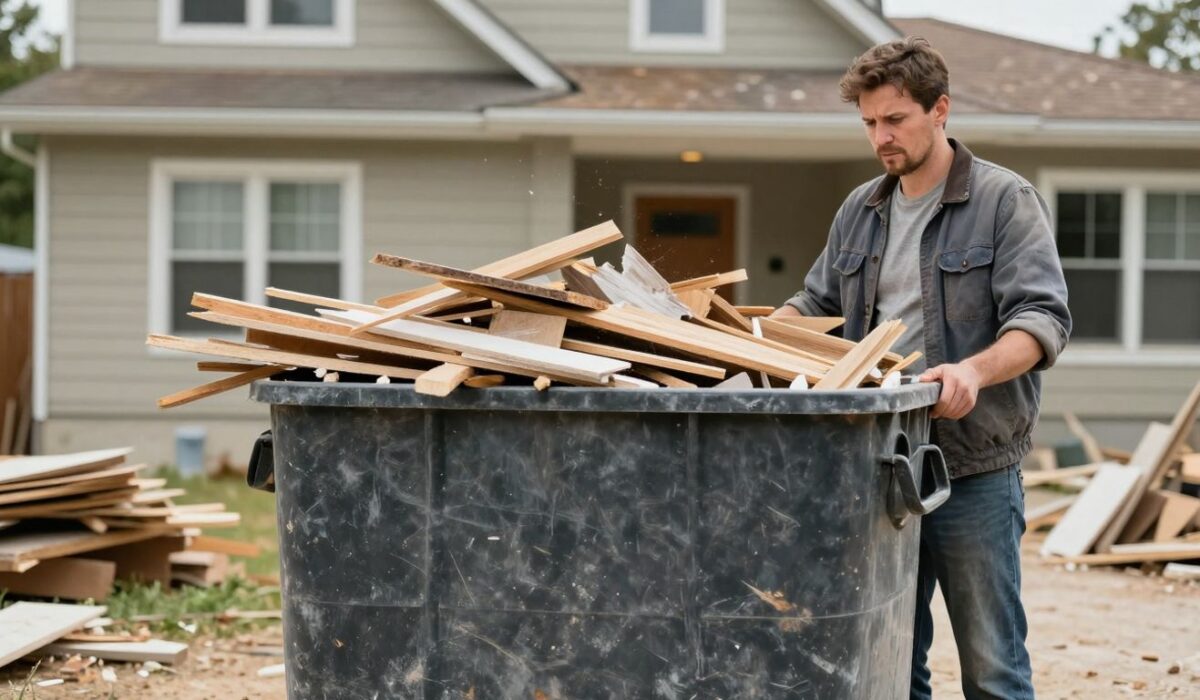
Another frequent issue is the size of the bin itself. People often guess how much debris they’ll have, and let’s be honest, renovations tend to create more mess than you initially plan for.
Here are some typical reasons for these disputes:
- Size Miscalculations: Renting a bin that’s too small means it overflows. This can lead to extra fees from the rental company and potential fines from the city if it’s not contained properly. Conversely, renting one that’s way too big might cost you more than you need to spend.
- Placement Conflicts: As mentioned, where the bin sits is a big deal. This includes issues with:
- Neighbor complaints about access or aesthetics.
- City ordinances about street placement or sidewalk obstruction.
- Homeowners association rules that might have specific requirements.
- Permit Confusion: Many cities require permits for bins placed on public streets or sidewalks. Not having the right paperwork can result in the bin being removed, leaving you with a pile of renovation waste and a delayed project.
- Unexpected Debris: You might think you know what’s going in the bin, but sometimes you find materials that aren’t allowed, like hazardous waste or electronics. This can cause problems when it’s time for pickup and disposal.
- Contract Disagreements: Sometimes, the fine print in the rental agreement can be a source of conflict, especially regarding extra fees, pickup schedules, or what happens if the bin is damaged.
It’s easy to get caught up in the excitement of a renovation, but overlooking the details of your bin rental can lead to unexpected costs and delays. Thinking through placement, size, and local rules before the bin arrives can save a lot of trouble down the line.
These landfill bin rental complaints aren’t just annoying; they can actually add significant costs to your renovation project if not handled properly. Understanding these common pitfalls is the first step to avoiding them.
How Bin Rentals Work for Home Renovations
Renting a bin for your home renovation project might seem straightforward, but there are a few things to keep in mind to make sure it goes smoothly. It’s all about picking the right bin and understanding the process from start to finish. This is where understanding the basics of bin rental services really pays off.
When you’re looking for a bin rental for home renovation, you’ll typically deal with companies that offer various sizes. These aren’t just random dimensions; they’re designed to handle different volumes of debris. Think about the scope of your project. A small bathroom update might only need a smaller bin, maybe a 10-yard one, while tearing down walls for a major remodel will definitely require something bigger, like a 20 or 30-yard bin. It’s always better to overestimate slightly than to run out of space and have to order a second bin, which costs more time and money.
Here’s a general breakdown of how it usually works:
- Selection: You’ll choose a bin size based on your project’s needs. Companies often have charts or staff to help you figure this out.
- Ordering: You contact the waste bin rental services provider, discuss your project, and schedule a delivery date.
- Delivery: The bin is dropped off at your property. Make sure you have a clear spot picked out, considering access for the truck and where you’ll be doing the most work.
- Filling: You fill the bin with your renovation debris. Be mindful of what you’re putting in; some materials might have extra disposal fees or might not be allowed.
- Pickup: Once the bin is full or your project is done, you call the company to schedule a pickup. They’ll haul it away for disposal.
For those in specific regions, you might look into construction bin rentals for home renovations, as local providers often have a better grasp of regional regulations and common project types. Similarly, if you’re a business owner undertaking renovations, you might explore commercial bin rental services, which can sometimes offer different terms or larger capacity bins.
It’s important to clarify what’s included in the rental price. Does it cover the bin for a set number of days? What are the weight limits? Are there extra charges for certain types of waste, like hazardous materials or excessive weight? Getting these details upfront prevents surprises later on.
When you’re comparing options, remember that not all garbage bin rental services are the same. Some might offer faster delivery, better customer service, or more flexible rental periods. For instance, if you’re just doing a quick clean-out, a standard garbage bin rental might be sufficient, but for a full-scale renovation, you’ll need something more robust. Always check the provider’s website for specific details on their services and what they cover.
Waste Disposal Guidelines for Home Renovations
When you’re renovating, figuring out what to do with all the leftover junk is a big part of the plan. It’s not just about tossing things in a bin; there are rules, and ignoring them can lead to some serious renovation debris removal issues.
Understanding what goes where is key to avoiding headaches and potential fines. Different types of waste have different disposal requirements, and your rental company will have specific rules too. You can’t just throw anything and everything into a dumpster.
Here’s a breakdown of what you generally need to know:
- Hazardous Materials: Things like paint cans (even empty ones), solvents, batteries, fluorescent bulbs, and certain cleaning agents are usually a no-go for regular dumpsters. These often need special handling and disposal, sometimes through local hazardous waste collection sites. Check with your rental company and local authorities.
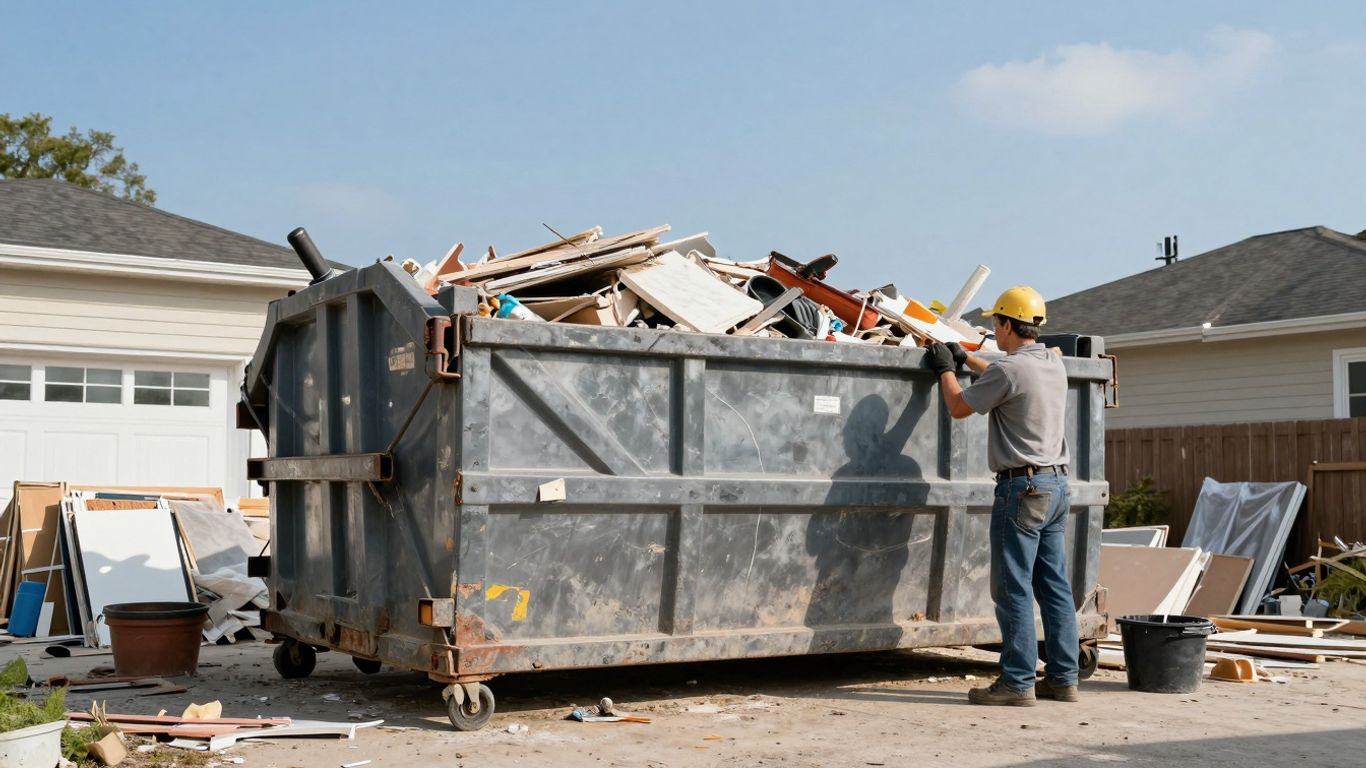
- Construction & Demolition (C&D) Debris: This is the bread and butter of renovation waste – wood, drywall, concrete, bricks, metal, asphalt shingles. Most bin rental services are set up to handle this, but there might be weight limits or restrictions on certain items like large concrete chunks.
- Household Trash: Regular garbage, like food scraps or packaging from new materials, usually shouldn’t mix with your renovation debris. It’s best to keep this separate and dispose of it through your regular trash service.
- Recyclables: Some materials, like metal or clean wood, might be recyclable. Your waste disposal services might offer options for separating these, which can sometimes be more cost-effective or environmentally friendly.
Weight Limits and Overages: Rental companies set weight limits for their bins. Exceeding these limits often results in extra charges, sometimes called ‘overage fees.’ These can add up quickly, so it’s wise to estimate your debris volume and weight as accurately as possible. If you’re dealing with heavy materials like concrete or tile, be extra mindful of the weight.
Prohibited Items: Beyond hazardous waste, there are often other items that rental companies won’t take. This can include tires, appliances (unless specifically arranged), electronics, or even dirt and soil. Always get a clear list of prohibited items from your provider to prevent surprises and potential renovation waste disposal disputes.
Local regulations play a huge role in how you dispose of renovation waste. What’s acceptable in one town might be a violation in another. Always check with your city or county’s waste management department for specific guidelines related to home improvement projects. This proactive step can save you a lot of trouble down the line.
When you book your bin, make sure you understand the terms of service regarding what you can and cannot put inside. This clarity is your first line of defense against many common renovation debris removal issues and helps ensure your Waste Disposal Services are used correctly.
Resolving a Home Renovation Bin Rental Dispute
Sometimes things don’t go as planned with a dumpster company, and that can quickly become stressful. Maybe the bin showed up late, the pickup was delayed, or there was confusion about pricing or what could go inside. These situations are frustrating, especially when your renovation or cleanup is stuck waiting. This is often why people look for a reliable dumpster rental in Ottawa—to avoid delays, miscommunication, and unnecessary headaches from the start.
First things first, take a deep breath and gather your paperwork. This includes your rental agreement, any invoices, photos of the bin’s condition (before and after, if possible), and any communication you’ve had with the company. Having all this information handy is key to resolving bin hire conflicts.
Here’s a general approach to tackling these issues:
- Review Your Contract: Go back to the rental agreement. What does it say about fees, delivery times, prohibited items, and dispute resolution? Knowing the terms you agreed to is your strongest starting point.
- Communicate Clearly and Calmly: Reach out to the dumpster company. Explain the problem clearly, referencing your contract and any evidence you have. Sometimes, a simple phone call or email can clear up misunderstandings.
- Document Everything: Keep records of all conversations, including dates, times, who you spoke with, and what was discussed. If you send emails, save them. If you have phone calls, follow up with an email summarizing the discussion.
- Consider Mediation: If direct communication isn’t working, you might consider a neutral third party. Some rental companies offer mediation services, or you could look into local consumer protection agencies.
- Know Your Rights: Understand local regulations regarding waste disposal and bin rentals. This can give you a better idea of what’s reasonable and what’s not.
Financial consequences of unresolved disputes can really add up. Beyond the rental cost, think about potential fines for delays, extra permit fees, or even damage to your property if the situation escalates. It’s often cheaper in the long run to sort things out quickly.
If the dispute is about extra charges, ask for a detailed breakdown. If it’s about damage, see if you can get an independent assessment. Remember, the goal is to find a fair solution that respects both your agreement and the company’s services. Most of the time, these issues are just bumps in the road, and with a bit of persistence, you can get your renovation back on track.
Preventing Disputes Before They Happen
Nobody wants to deal with a headache during a renovation, especially when it involves something as basic as a dumpster. The good news is, most bin rental problems can be sidestepped with a little foresight. It really comes down to being prepared and talking things through before the bin even shows up.
First off, get everything in writing. Don’t just rely on a phone call or a handshake. Make sure your rental agreement clearly spells out the bin size, the rental period, where it can be placed, and what happens if you go over the weight limit or try to toss in something you shouldn’t. This contract is your best friend if any questions pop up later.
Here’s a quick rundown of what to nail down in your agreement:
- Bin Size: Make sure it’s big enough for your project’s debris, but not so big it causes placement issues.
- Rental Duration: Clearly state the drop-off and pick-up dates.
- Placement Location: Agree on a specific spot, especially if it’s on public property.
- Accepted Materials: List what can and cannot go in the bin.
- Weight Limits & Overages: Understand the weight limit and the cost for exceeding it.
- Cancellation Policy: Know the terms if you need to change your plans.
Also, check local rules. Many towns require permits for bins placed on streets or sidewalks. Failing to get the right paperwork can lead to fines or the bin being removed, which is a major project stopper. It’s worth a quick call to your city hall or building department to see what’s needed. Your homeowner’s association might have rules too, so don’t forget to give them a shout.
Talking to your neighbors before the bin arrives can also smooth things over. Let them know when the bin will be there, how long it’s expected to stay, and that you’re doing your best to keep things tidy. A little heads-up can prevent a lot of potential grumbling.
Finally, take pictures. Before the bin is delivered, snap a few photos of the intended placement area. Once it’s there, take more pictures showing its exact location and condition. Document any communication you have with the rental company, too. Keep emails, save texts, and jot down notes from phone calls, including dates and times. This documentation is super helpful if a disagreement about placement, damage, or service arises later on.
Tips for a Smooth Home Renovation Bin Rental Experience
Renting a bin for your renovation project might seem like a simple task, but a little bit of planning can save you a whole lot of trouble down the road. It’s not just about picking the biggest size you can find and having it dropped off. There are details that can really make or break your project’s smooth sailing.
Always get the important stuff in writing. This includes the rental agreement itself, any specific instructions you give or receive, and a clear understanding of who is responsible for what. Surprises tend to pop up when people assume things about who’s handling permits, where the bin will go, or even who’s paying the final bill. Make sure you know exactly what’s included in the price – things like weight limits, how long you can keep the bin, and what happens if you go over those limits.
When the bin arrives, think carefully about where it’s going to sit. You don’t want it blocking a driveway, a sidewalk, or any emergency access routes. If you plan on putting it on the street, it’s a good idea to check with your local city or town about permit requirements first. A quick chat with your neighbors can also prevent awkward situations later, especially if the bin will be visible or might cause some noise.
Here are a few more things to keep in mind:
- Know your waste: Be really clear on what you can and cannot put in the bin. Hazardous materials, electronics, or certain chemicals often have special disposal rules. Mixing them in can lead to some hefty fines.
- Don’t overfill: Stick to the weight limits specified in your agreement. Overfilling can result in extra charges and can also make the bin unsafe to move. It’s often cheaper to rent a slightly larger bin than to pay for overage fees.
- Protect your property: If the bin is going on your driveway, consider putting down some plywood or protective mats. This can help prevent cracks or damage, especially if you’re dealing with heavy loads.
Remember, the goal is to get your waste removed efficiently and legally. Choosing the right partner for your waste bin rental is a big part of that. Don’t be afraid to ask questions and clarify anything you’re unsure about before signing any agreements.
Conclusion
So, we’ve gone over a lot of ground regarding bin rental issues during home renovations. It can feel like a real headache when things go sideways, but remember, most of these problems aren’t insurmountable. Being prepared and communicating clearly from the start is your best defense.
Think about it: a little bit of planning upfront can save you a whole lot of stress later. We talked about how important it is to get everything in writing with the rental company, know the local rules about where you can put that bin, and even give your neighbors a heads-up. It’s not just about avoiding fines; it’s about being a good neighbor too.
Here’s a quick rundown of what really matters:
- Get it in writing: Don’t just shake hands. Have a clear contract that spells out dates, costs, what you can and can’t put in the bin, and what happens if something goes wrong.
- Know the rules: Check with your town or city hall about permits for bins on streets or sidewalks. Your HOA might have rules too.
- Talk to people: Keep your rental company, neighbors, and landlord (if you have one) in the loop. A quick call can prevent a lot of misunderstandings.
- Document everything: Snap photos of the bin when it arrives, keep receipts, and save emails. This is your proof if a dispute pops up.
Sometimes, even with the best intentions, disputes happen. Whether it’s about extra fees, the bin being taken away too soon, or disagreements over what’s considered acceptable waste, remember that there are ways to sort it out. Direct talks are usually the first step, and if that doesn’t work, mediation can be a really effective way to find a middle ground without needing lawyers.
Ultimately, a smooth renovation bin rental experience comes down to being informed and proactive. By understanding how these rentals work, following disposal guidelines, and knowing how to handle disagreements, you can keep your project on track and your stress levels down. Happy renovating!
In conclusion, getting the right bin for your needs is simple. We’re here to help make your project easier. Ready to get started or have questions? Visit our website today to learn more and book your bin!
Wrapping Up Your Renovation Bin Situation
So, dealing with bin rentals during a home renovation can get messy, right? We’ve walked through understanding your rights, common problems like where to put the bin or what happens when it’s full, and how to talk things out before they get out of hand. Remember, a little bit of planning and clear communication goes a long way. Keep those rental agreements handy, snap some photos, and don’t be afraid to ask questions. Most of the time, a simple chat can sort out issues before they turn into big, expensive headaches. Here’s to a smoother renovation and a bin that causes zero drama!
Frequently Asked Questions
Do landlords have to provide bins for my renovation waste?
Generally, landlords don’t have to provide special bins for renovation trash. They usually cover regular household garbage. If you’re renovating, the waste from that project is typically your responsibility, not your landlord’s, unless your lease agreement says otherwise. Always check your rental contract first.
Who is responsible if my renovation bin causes problems with my neighbors?
As the homeowner doing the renovation, you’re usually the one responsible for sorting out issues with neighbors. This means making sure the bin is placed correctly according to local rules and addressing any concerns they might have about safety or how it affects their property.
Can the bin rental company just take the bin away if we disagree about something?
No, rental companies can’t just remove a bin without following the rules in your rental agreement. Most contracts explain how to handle disagreements and require them to give you notice before taking the bin back. However, they might be able to remove it right away if there are serious safety issues or if you’ve broken important contract terms.
What kind of permits do I need for a renovation bin?
It really depends on where you live. Many cities require special permits if you plan to put a bin on public property, like a street or sidewalk. Even if you’re placing it on your own property, your neighborhood association might have its own rules. It’s best to call your local town hall or building department before the bin arrives to make sure you have everything you need.
How can I avoid problems with bin rental companies?
The best way to avoid issues is to be super clear from the start. Read your rental agreement carefully, understand what you can and can’t throw in the bin, and know where it’s supposed to go. Talk to the rental company about your project plans and any specific needs you might have. Good communication helps prevent most headaches.
What happens if my renovation bin overflows?
If your bin overflows, you might have to pay extra fees to the rental company. Plus, you could get fined by your local government for not following waste disposal rules. It’s important to order a bin that’s big enough for your project’s expected waste to avoid these extra costs and problems.